How Do you Install a Removable Wall Mural? [The COMPLETE guide]
How do I install my wall mural?
This question is the number one question asked by our customers everyday. Many first time mural buyers are a little intimidated facing the task of having to install their wall mural on their own. We are here to tell you don’t worry, not a bit!
Installing your wall mural is not only easy, you’ll have fun doing it too! Eazywallz prides itself on being completely DIY, simple and easy to install for all the non-professional installers out there.
So let’s go ahead and break it down, step by step, and answer all the straightforward questions for the everyday installation.
Step by Step Process on Installing your Wall Mural
Let’s begin with step one, the ordering process.
Once the custom wall mural has been chosen and you are ready to order you will want to re-measure your walls to be sure your dimensions are right on. Once you are confident in the exact dimensions, we recommend adding a few extra inches to the height and width for good measure. Walls are never perfectly straight. Once you have the final measurements to order your wallpaper mural, step one is complete and the order is placed.
On our end, we produce each wall mural custom and print in equal size wall mural panels of approximately 24” in width by the full height. Each wall mural panel is numbered to know which panel goes where! This allows for the installation to be as fast and easy as possible.
Step two, you have received your wall mural, yay! Time to Start!
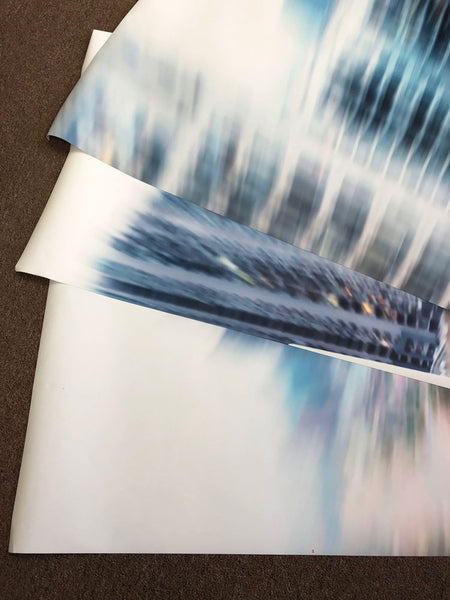
Once your have opened the tube it is best to unroll the panels and lay out them out on the floor. Make sure they are in numerical order.
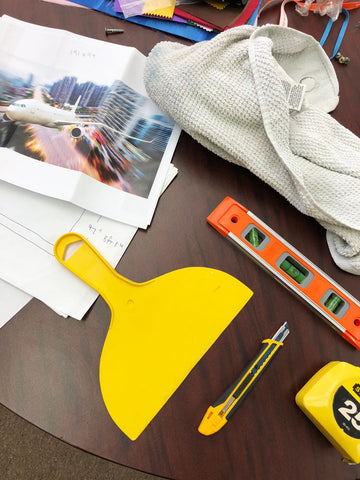
On hand you should have the following: a trimming tool (Xacto knife), a rubber or soft squeegee, a short ladder or step stool, a dry cloth and a measuring tape. With the dry cloth, wipe down the wall. Now, you are ready to install!
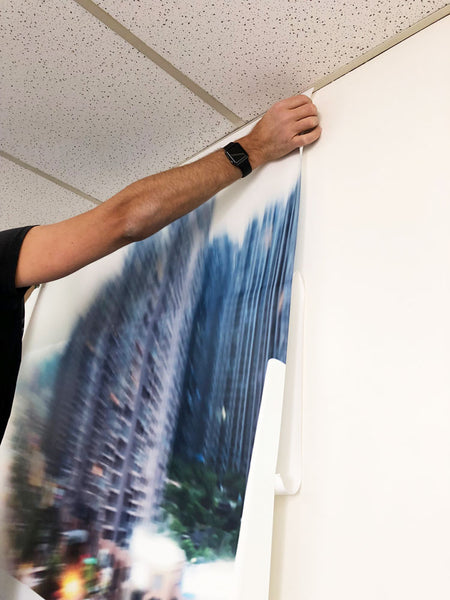
Step three, peel off the liner of the first panel a few inches only across the top
The key is to not peel off the entire liner all at once. It is tricky to have to hold a full wall mural panel and not have it stick to itself! You will want to start with wall mural panel #1.

Stick the top left corner of the wall mural to the wall, making sure it is as straight as possible. This is the most important panel since it will dictate how the rest of the panels align.
Once the first panel is installed you can use your squeegee to get rid of any air bubbles and get the wall mural nice and tight on the wall.

Continue with the following wall mural panels the same way. Each wall mural panel should be installed edge to edge (no overlap). If a panel is not straight, just lift it back up a reposition it. The wall mural material has no memory so it’s simply to correct any mistakes!
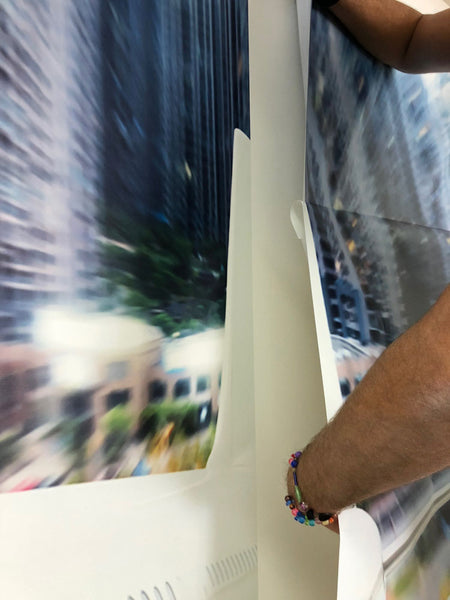
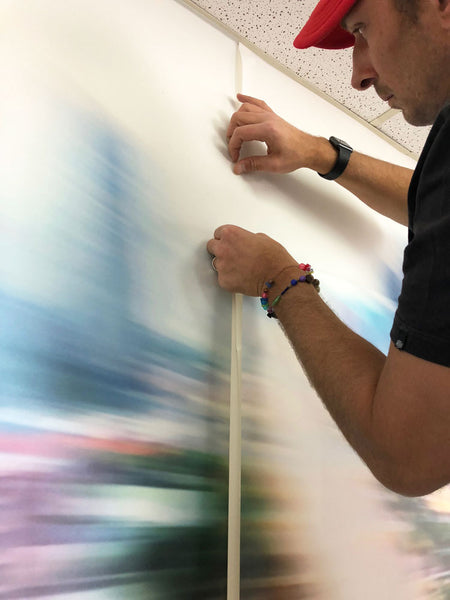
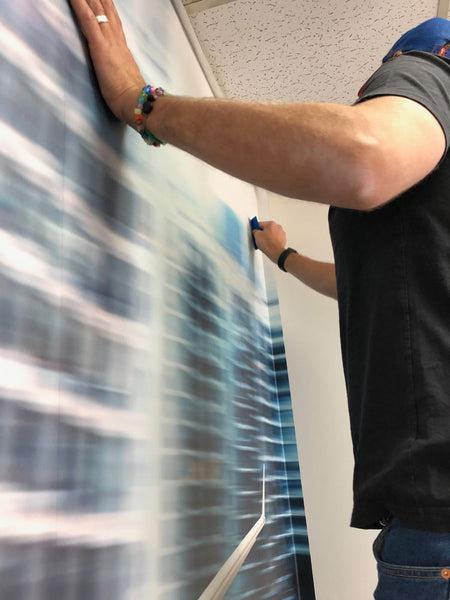
Step four. Once the wall mural is installed take your xacto knife and trim any excess wall mural off.
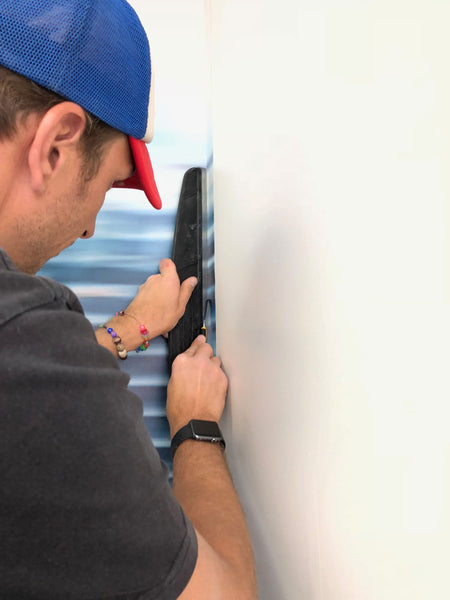
A little side note, keep the backing paper the mural came on in case you ever want to move it. It is completely reusable. Yes, reusable!!

That’s it guys! It is just that simple!
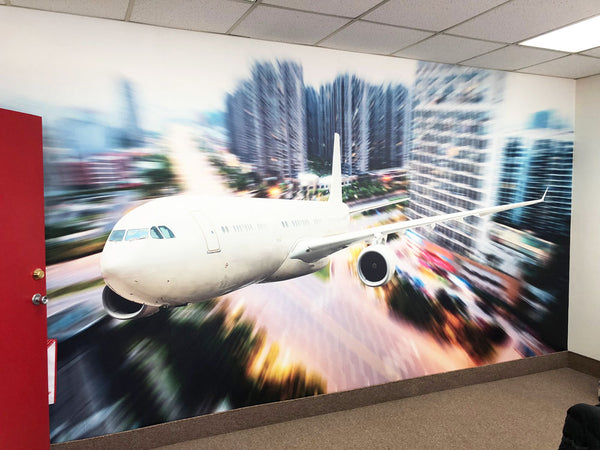
If you like the this wallpaper mural shown here, Check out our other transportation & Automotive wall murals to Turn your office into something cool!
Now, on a side note, here are a few more tricks that we want to share with you since we get a lot of questions on these topics.
Tips and Tricks on Installing your wall mural!
How do I install around a door?
For walls that have a door or window it is recommended to install the panel over the door or window and then trim around the frame. Do not pre-cut the panel!
What about a wall that curves, will it stick?
The answer is yes! The material will take shape to any wall, just be sure you account for the additional inches of the curve within the wall.
What if there is air bubbles after installing?
If air bubbles persist, a great trick is to use a sewing or safety pin to get the trapped air out.
If I have overage, where will the image be trimmed?
If you ordered your mural with extra inches for good measure you will want to note that if you install the mural from left to right and top to bottom, any excess will be trimmed from the right and bottom of the image. This is the standard way to install. If you prefer the excess to come off the top or left, you will want to install from right to left and from bottom to top.
And finally, don’t forget the most important thing about installing your Eazywallz mural. Us! We are here at any time to help you with any questions you may have about your wall mural! So let get started and get some spruced up walls going on!


